|
|
The Boss™ Installation |
|
|
|
The Boss™ Installation |
|
| The Boss™ Installation Procedures | ||
|
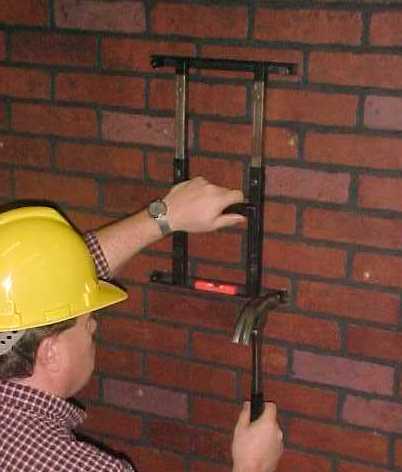
Step 1: Place the template on the wall at the desired position. While observing the built-in level, position the template in a level plane. Strike each of the four corner MARKER PINS with a hammer, thereby identifying the location of each hole to be drilled. |
|
|
|
|
||
|
|
Step 2: Drill all four holes straight in to the mounting surface using the marks left by the marker pins. |
|
|
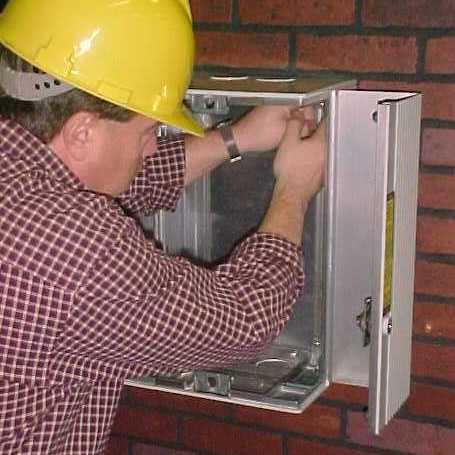
Step 3: Mount the enclosure to the wall using the recommended mounting hardware. If the mounting surface is not flat, locate the corners of the enclosure which are not flush to the wall. Adjust the shim bolts located in each corner of the enclosure. After adjusting the shim bolts, tighten the enclosure to the wall. |
|
|
|
|
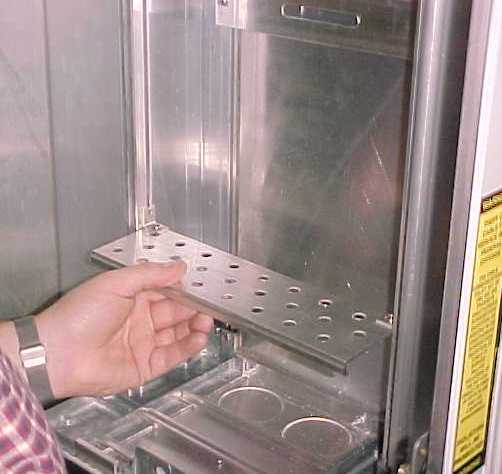
Step 4: Complete the wiring and install any optional equipment such as D-MARK plates, Tap Brackets, etc. |
|
|
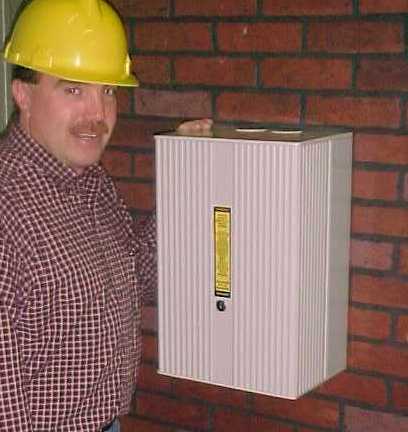
Step 5: Slam the self locking doors shut to secure the enclosure. |
|
|
|
Printer Ready |
Want a high resolution version of this installation document for printing? |
Click Here |
|
|
|
|||
|
Need the free file viewer for Adobe .pdf files that will allow you to view and print this document? |
Click Here |
|
|